A yoga block doesn’t deepen a stretch. It raises the floor.
That one idea fixes most of what goes wrong with blocks at home: the rounded forward fold with fingertips straining for the mat, the pigeon that pitches you sideways, the bridge that becomes a hamstring cramp. A block isn’t there to push you further. It’s there to bring the ground up to meet a hand, a hip or a head, so the rest of the shape can organise itself.
Six placements cover almost everything. Here they are, with what each one actually changes.
First, the three heights
A standard block is 23 × 15 × 10 cm (9 × 6 × 4 in). Rest it on each of its three faces and you get three usable heights: 10 cm flat, 15 cm on its side, 23 cm standing tall.
Most beginners reach for tall straight away, because it looks like the most help. Often the medium setting is the one that works, because tall blocks tip. If you’re new to this, start at 15 cm and change one thing at a time.
Two blocks are more useful than one. Hands, hips and feet come in pairs, and propping one side while the other reaches the floor is exactly the thing that makes shapes feel wrong.
1. Under the hands — the beginner placement
This is the answer to how to use a yoga block for beginners in one line: put a block under each hand in any standing forward fold, triangle, half split or low lunge where your fingertips are clawing at the mat.
What changes is the pelvis. When the hands have nowhere to land, most people round the lower back to reach the floor. Lift the floor by 15 cm and the hinge moves back into the hips where the fold belongs. The hamstrings get a longer, quieter stretch, and the lumbar spine stops being a lever.
In a low lunge, blocks either side of the front foot let the chest stay open instead of collapsing onto the thigh. In triangle, a block under the lower hand means the top shoulder can actually stack.
If you sit at a desk and your folds feel like a wall at mid-shin, this placement plus a hamstring routine built for sitting all day will do more than forcing the fingers down ever will.
2. Under one hip — for pigeon, twists and sitting cross-legged
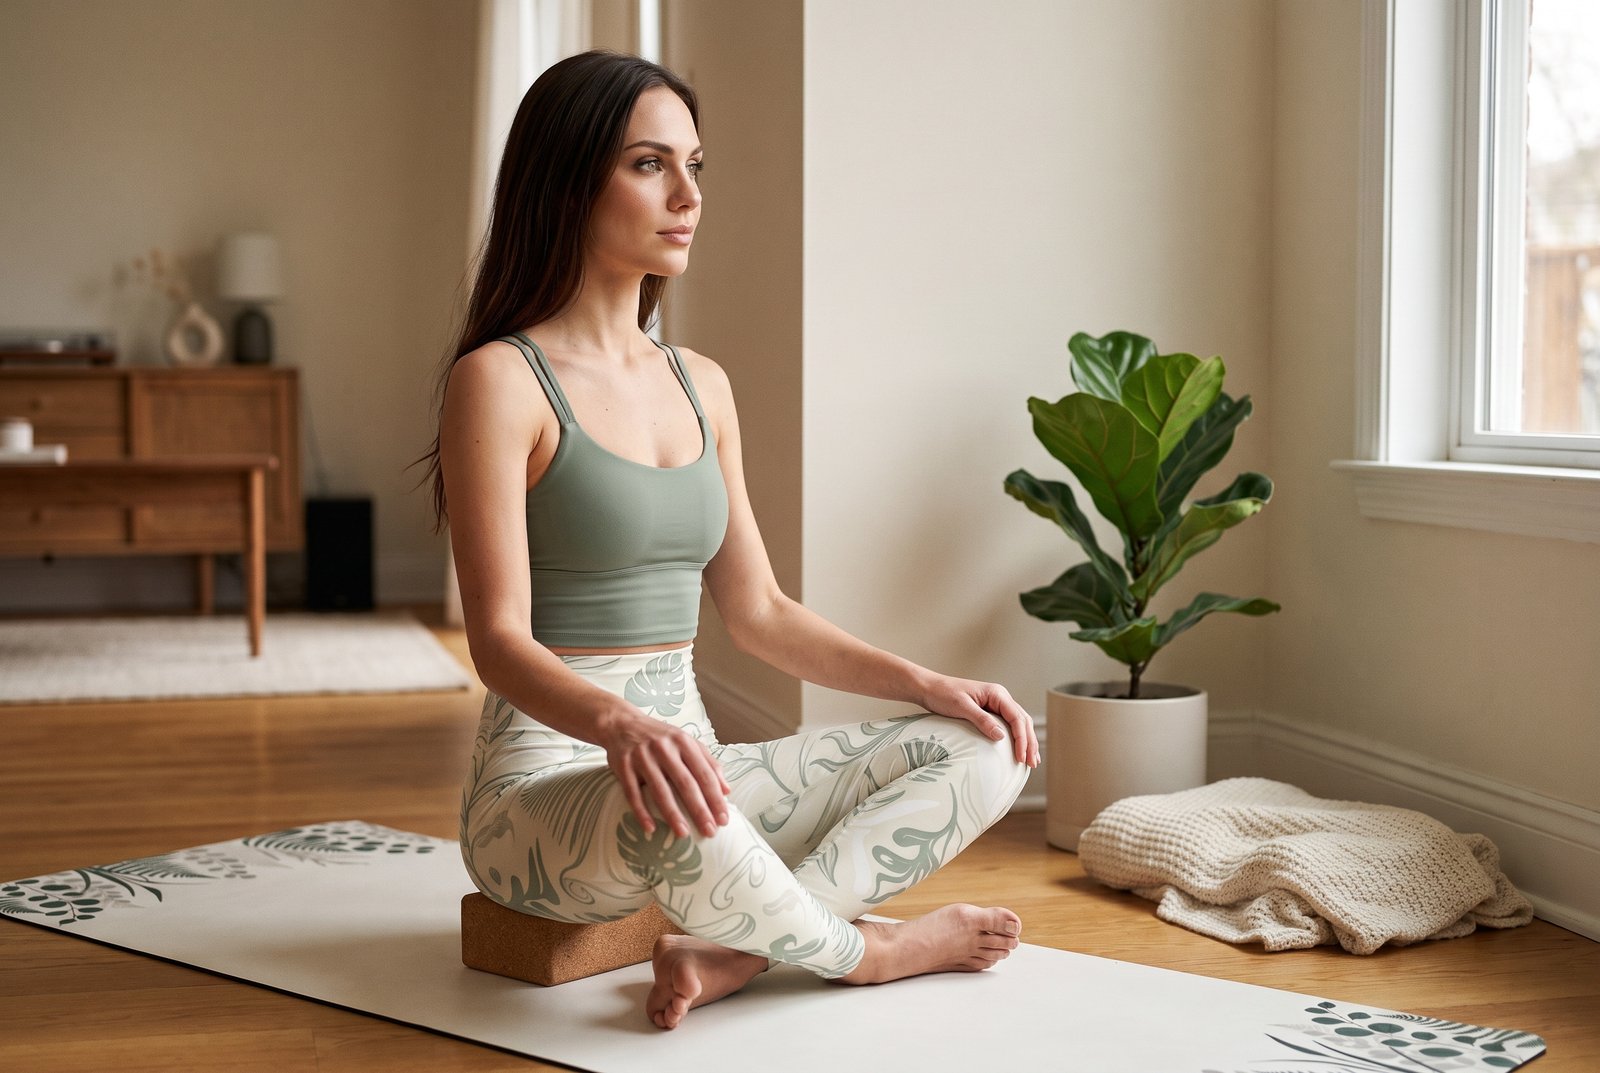
Sit on the floor with legs crossed and notice where your pelvis goes. If it rolls backwards and your lower back curls, your hips aren’t the problem — the floor is simply too low for your proportions.
Slide a block flat (10 cm) under the sit bones and the pelvis tips forward again. The spine stacks. Breathing gets easier. This is the placement that makes seated work survivable for anyone with long femurs or stiff hips.
In pigeon, the block goes under the bent-leg hip, the one hanging in space. Without it, most people dump their weight sideways and the stretch lands in the knee rather than the outer hip. With 10 cm of support the hips level, and the sensation moves where you wanted it.
In a seated twist, propping the hip raises the base so the rotation starts from a neutral spine rather than a slump.
3. Under the head — neck pain and lying-down shapes
Lie on your back and let someone look at your head from the side. If your chin points up at the ceiling and the back of the neck is jammed short, your head needs height.
For how to use a yoga block for neck pain, the honest answer is that a block is usually too hard and too tall. A folded blanket under the skull, 2 to 5 cm adjusted in layers, beats a block almost every time, and it costs nothing if you own a blanket. We’d rather say that than sell you the wrong prop; see what makes a good restorative blanket for folding specifics.
Where a block does earn its place: under the forehead in a wide-legged forward fold, or under the head in reclined bound angle when a blanket keeps sliding. The rule is that the chin should sit slightly lower than the forehead, not higher.
Nerve pain, numbness, pins and needles into the arm or hand, or neck pain that wakes you at night are not prop problems. See a physiotherapist.
4. Between the knees — bridges, Pilates and the abs question
Squeeze a block between the thighs just above the knees and the inner thighs switch on. That changes a bridge from a hamstring event into something the glutes share, and it stops the knees splaying.
This is also most of the answer to how to use a yoga block for abs and for Pilates. In a hundred, in dead bug, in toe taps, the block between the knees gives the deep abdominal wall something to co-contract against. The block is a feedback device, not resistance training — it tells you when the legs have gone slack.
Foam blocks are better here than cork. They compress a few millimetres, which is pleasant between bony knees, and they weigh a fraction as much if they drop.
5. Under the sacrum — supported bridge and lower back
Lift into a bridge, slide a block under the bony plate at the base of the spine, not under the lumbar curve, and lower down onto it. Flat for 10 cm, on its side for 15 cm if that feels fine.
What it changes: the hip flexors lengthen passively while the lower back is held, which is the opposite of what a desk chair does for eight hours. Two to five minutes is plenty.
For how to use a yoga block for lower back pain and general back stiffness, this placement and the hip-propping one are the two worth knowing. Both work by reducing the work the lumbar spine is being asked to do, rather than stretching it. If any position sends pain down a leg, stop and get it looked at by a physiotherapist before you keep propping.
6. Under the back foot — lunges and standing work
In a high lunge, the back heel floats and the ankle has nothing to press into, so the whole shape wobbles. Stand a block on its 10 cm face against a wall, put the ball of the back foot on it, and the heel now has a surface.
The shape stops being a balance test. The load moves into the back leg, which is where a lunge should feel like work. Same trick in a kneeling hip flexor stretch: instep of the back foot on the block, and the ankle stops complaining.
Block and strap together
The pairing people ask about most: block under one hip or hand, strap doing the reaching. In a seated forward fold, sit on a 10 cm block and loop a 2.5 m strap around the feet. The block sets the pelvis, the strap stops the shoulders hauling.
In reclined hamstring stretch, the strap holds the raised leg and a block under the opposite thigh keeps that hip from lifting. One prop sets the base, the other manages the reach. That division of labour is the whole logic of using them together.
What to buy, and what you already own
Figures below are from manufacturers’ published specifications, not from anything we’ve tested.
| Option | Typical published size | Typical published weight | Give | Best placements |
|---|---|---|---|---|
| EVA foam block | 23 × 15 × 10 cm | around 200–300 g | Compresses a few mm | Between knees, under head, under hands |
| Cork block | 23 × 15 × 10 cm | around 1 kg | Essentially none | Under hands, under back foot, standing work |
| Bamboo block | 23 × 15 × 10 cm, hollow | around 600–900 g | None | Under hands, under hip |
| Hardback books | Whatever you have | Varies | None | Under hands, under sit bones |
| Folded wool blanket | Adjustable 2–8 cm | 1–2 kg | Soft, conforming | Under head, under sacrum |
Two stacked hardbacks under each hand do the forward-fold job as well as cork does. A blanket beats a block under the head. Buy blocks when you want a repeatable, stable height you don’t have to rebuild each time — and if you’re assembling a space from scratch, the under-£200 stretching corner post sets out what order to buy things in.
If you have abandoned a routine before and are starting again: buy two foam blocks, put them under your hands in every forward fold for a fortnight, and change nothing else. The lowered difficulty is what makes the habit stick.
If your lower back is the complaint: use the sit-bone prop for all seated work and supported bridge for three minutes a day. If pain travels down a leg or you get numbness, book a physiotherapist rather than adding props.
If you already own blocks and nothing feels different: you’re probably using tall when medium would work. Drop to the 15 cm face, or the 10 cm face, and let the shape organise itself rather than stretching into it.
If you’re deciding between cork and foam: get one of each. Cork for standing on and pressing into, foam for squeezing between knees and resting bones on.
Written with Elena, our AI stretch guide, and checked against our editorial and safety rules before publishing. General movement guidance, not medical advice. Photographs are AI-generated illustrations.


