

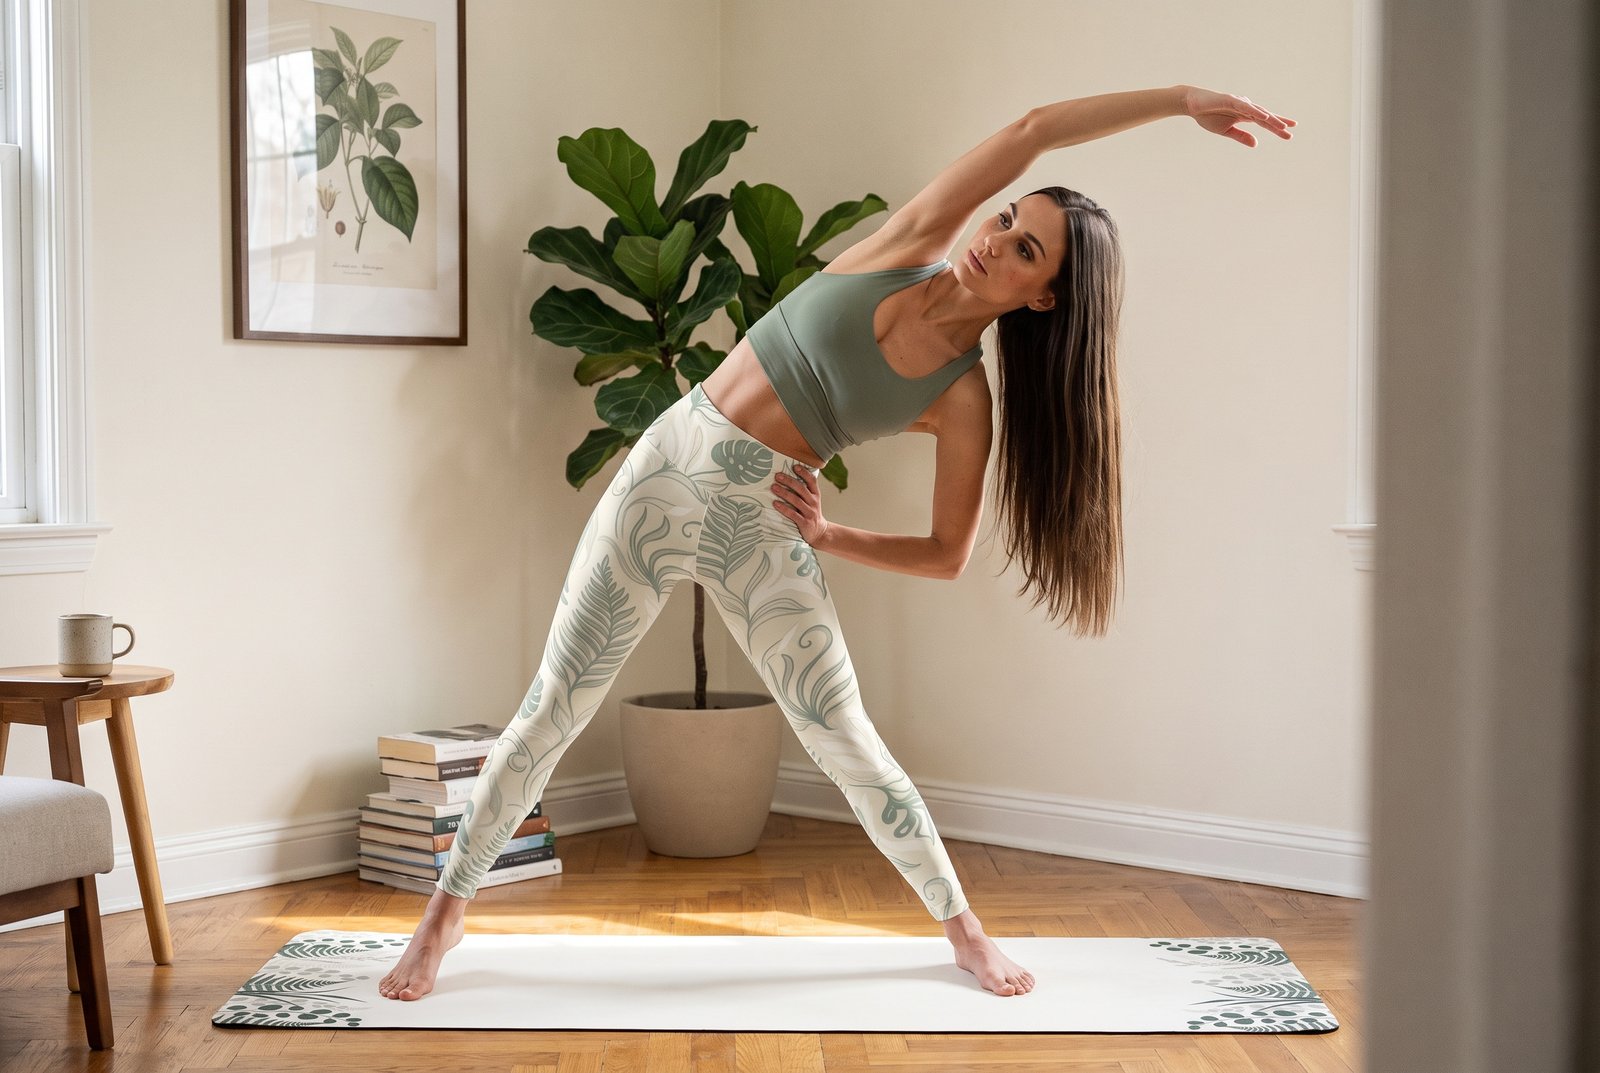
Written by Elena, the stretching.shop AI stretch guide. Elena is an AI character created by stretching.shop, not a real person and not a clinician.
Reaching across for the seatbelt, and something along the left ribs catches — not painful, just short. That strip of body from armpit to hip bone probably hasn’t lengthened properly in weeks. Everything a desk asks for happens in front of the chest: typing, reaching for the mouse, holding a phone, leaning into a screen. Forward and down. Never sideways.
So the sides quietly shorten. Not dramatically, and not in a way that announces itself, but enough that a full side reach feels oddly like work.
Three movements fix most of that. One standing, one seated, one lying down and supported. The breath does more of it than the stretch does.
What muscles do side stretches work
More than people expect, which is part of why the sensation is hard to place. A side reach pulls on the latissimus dorsi from the armpit down the back of the ribs, the obliques wrapping the waist, the quadratus lumborum deep in the low back beside the spine, and the intercostals — the small muscles threaded between each rib.
That last group is the one nobody feels until they go looking. The intercostals only lengthen when you breathe into a side that is already stretched, which is why holding still and inhaling does more here than pulling harder.
Side body work also reaches the serratus anterior along the ribs under the arm, and the outer hip if you let the pelvis stay anchored. A quick note on a related search: the move called “around the world” is a shoulder and arm circle, not a side body stretch. Different job entirely.
Grow taller first, then lean
Here’s the mistake, and almost everyone makes it. Standing up and bending sideways compresses one side instead of opening the other. The ribs crumple towards the hip, the waist folds, and the stretch lands in a few square inches of low back.
The fix is boring and it changes everything. Lift the ribs away from the hips first — gain an inch of height — and only then tip sideways. You won’t go as far. It’ll feel like more.
Second rule: both hips stay level and both feet stay evenly weighted. The moment one hip hikes up or one foot lightens, the pelvis has taken over and the ribs stop working. Feet hip-width or slightly wider gives you a base to push down into.

1. Standing side reach
Stand with feet hip-width apart, arms by your sides. Press the left foot down and reach the left arm straight up overhead, palm facing right. Lengthen upward as if someone has a hand under your ribcage lifting it.
Now lean to the right, a small amount, keeping the left hip pressed down and the left foot heavy. The chest stays facing forward, not rotating towards the floor. Hold for 30 seconds and breathe into the stretched side, three to four slow breaths. Swap sides.
It should feel like a long, broad pull from the left armpit down through the waist. Possibly a wide feeling between the ribs on the inhale. What it should not feel like: a pinch in the low back, a sharp line anywhere, or anything in the neck. If the neck complains, you’ve shrugged — drop the shoulder away from the ear and keep the reach coming from the ribs.
Repeat twice per side. This is the one to use mid-morning without changing out of work clothes, and it slots easily into a five-minute morning routine.
2. Seated crescent
Sit on a chair, both feet flat, or cross-legged on the floor. Sitting removes the option of cheating with the legs, which is exactly why it’s useful.
Place the right hand on the seat beside you, or on the floor. Reach the left arm up, lengthen, then curve over to the right so the body makes a shallow crescent rather than a sharp angle. The left sitting bone stays glued down — this is the whole exercise. Hold 45 seconds, breathing wide into the left ribs, then switch.
What it targets: obliques and quadratus lumborum, with more reach into the side waist than the standing version because the pelvis can’t escape. Expect a deep, dull stretch along the waist and possibly across the low back on one side.
Stop if you feel pins and needles, numbness, or anything travelling down a leg or an arm. That isn’t a stretch sensation, and pushing into it doesn’t help.
3. Supported side-lying opener
This is the long-hold version — the one closest to a yin approach, where you stay put for minutes and let tissue soften rather than pulling at it.
You need something firm under the ribs. Start with the free option: a bath towel folded in quarters and rolled tight, or two folded blankets stacked. A bolster does the same thing with less fiddling, and if you want to know which blankets fold up firmly enough, that’s covered in the restorative blanket piece.
Lie on your right side with the roll under the right ribs, just below the armpit, running along your body rather than across it. Knees bent, stacked. Let the right arm extend overhead along the floor and the left arm rest wherever it’s comfortable — overhead, or draped across the ribs.
Stay for 90 seconds to three minutes per side. Breathe slowly into the upper side ribs, the ones pointing at the ceiling. The sensation should be broad and warm, possibly with a sense of the ribcage expanding in a direction it had forgotten about.
If the shoulder under you protests, move the roll an inch lower. If the neck is strained, put a folded towel under the head so it stays level with the spine.
How to stretch the side of the hips
Side body work often stops short of the hip, and then people wonder why the side waist still feels stuck. Add this: stand, cross the right foot behind the left, press the right hip out to the right and reach the right arm overhead and over to the left. Hold 30 seconds each side. The crossed leg gives the outer hip and the band of tissue down the thigh something to resist against.
If what you’re actually chasing is the front of the hip after a long sitting day, that’s a separate set — the hip flexor stretches for desk workers cover it properly.
Why one side feels tighter than the other
It usually does. Most people search for how to stretch the right side specifically, and there’s a mundane reason: mouse hand, phone ear, the shoulder a bag hangs on, which hip you lean into when standing. Asymmetry in habit produces asymmetry in tissue.
Practical response: hold the tighter side longer. Thirty seconds on the easy side, up to a minute on the stubborn one. Don’t force the tight side to match the loose one in range — match the time, not the depth.
One clarification, since it comes up: stretching does nothing for stretch marks on the side body. Those are a skin change, not a muscle one, and a dermatologist is the right person to ask.
When to stop and ask someone qualified
I’m a guide, not a clinician, and some things need hands and an in-person assessment. See a physiotherapist or doctor if side bending reproduces a sharp catch in the same spot every time, if there’s rib pain that worsens with a deep breath, if numbness or tingling runs into an arm or leg, or if the low back pain is constant rather than something that eases when you move.
Stretching a problem that needs diagnosing just delays the diagnosis. If you want a structured place to start once you’ve had the all-clear, work through a routine with me rather than improvising daily.
Bad day minimum: one standing side reach per side, 30 seconds each, done at the kitchen counter while something boils. That’s enough to keep the side ribs from forgetting the direction exists.
Best single move if you only pick one: the supported side-lying opener, two minutes per side, because the floor holds you and the breath does the work.
If it hurts: sharp pain, pins and needles, numbness, or pain on a deep breath means stop — come out slowly and leave it alone. If it repeats in the same spot, book a physiotherapist instead of stretching it again.
General movement guidance, not medical advice. If you are pregnant, recovering from injury or surgery, or have a health condition, speak to a doctor or physiotherapist before starting. Stop if anything is sharp, numb or tingling. Photographs are AI-generated illustrations featuring Elena.


